
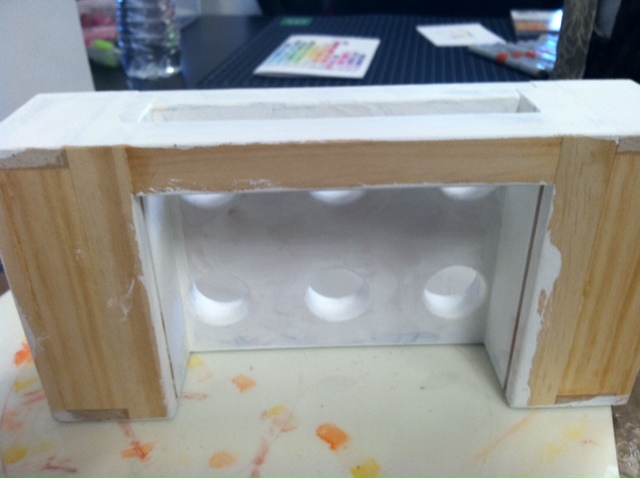
I purchased one of Tracy Weinzapfel's Glue Caddies a few weeks ago and I just finished altering it.
I was inspired by Julie's alteration of her glue caddy. I basically followed the same steps that she did.
First I painted the edges in brown (not shown because I forgot to take a picture!)
Then I covered it all in white.
I added the paper to the top and sides. I used the Helmar Acid Free Glue, no buckling :)


Next I sanded some of the white off to show the brown paint (forgot that pic too)
and give it an aged look.
Then I added Helmar Crackle Medium (a two step process). When that dried I rubbed distress ink into the cracks and wiped off the excess. Acrylic sealer comes next!

Here's what it looks like with all my glues in it! I love it!

The "art" embellishment is canvas from Prima.
I painted it with pink and blue Shimerz paints then added some distress ink and adhered it with Scrap Dots.


Wow...this is so cute. I need one of these. :)
ReplyDeleteToo stinkin' cute. Glad you posted the progression. It's great to see it start to finish.
ReplyDeleteThis was awesome!! I loved how the finished product came out. Can't wait to try that crackle now.
ReplyDeleteHope to see you at the store again soon!
Tracy Valure
I so need one of these! This came out fabulous, Jackie. Just loving the soft pretty colors.
ReplyDelete